


Putting the Engine Back Together
Since Prout Catamarans' sloppy drain installation cost us our hydraulic pumps, we decided to repair the diesel engine at the same time. After all, to access the pumps, you have to un-mount the engine and slide it forward. Furthermore, even though our engine only has only had 1,300 hours of use, the environment under which it operated was far from ideal.
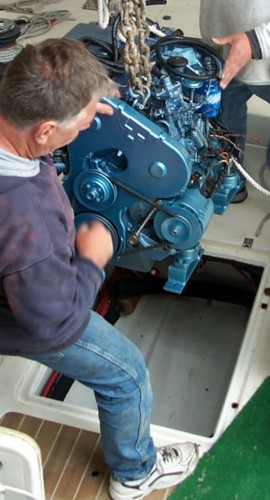
While we changed the liquids and filters religiously, little could be done about the internals that might have been damaged by the flood of the engine compartment. Moving such a large engine is quite difficult due to the confined space - the hatch is barely big enough just for the perimeter of the engine. Our first task was to unbolt the mounting blocks from the hull, then slide the engine forward.
However, "persuading" a 560+lb engine to move by hand is pretty hard to do. Removing the bolts was not any easier as a number of bolts would only allow ¼ turns at a time due to space constraints so tight that a ratchet driver would not fit. About 10 manhours later, we had the pumps out and the engine was ready to be lifted out of the engine room.

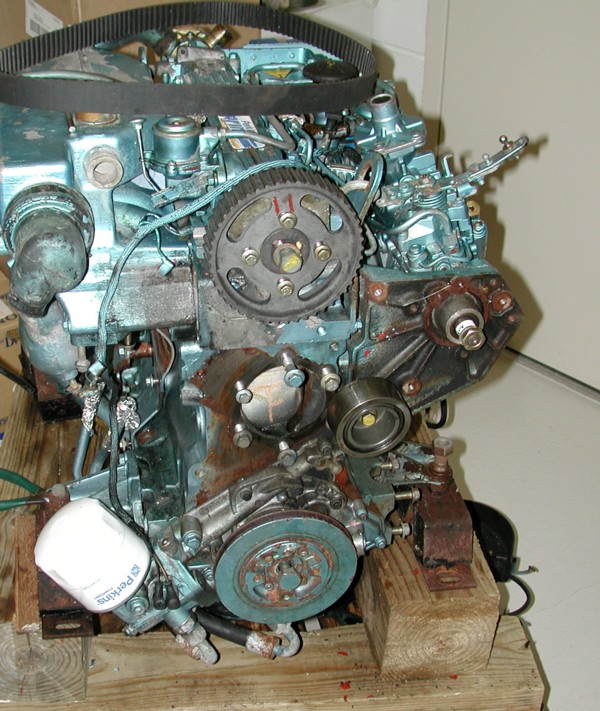
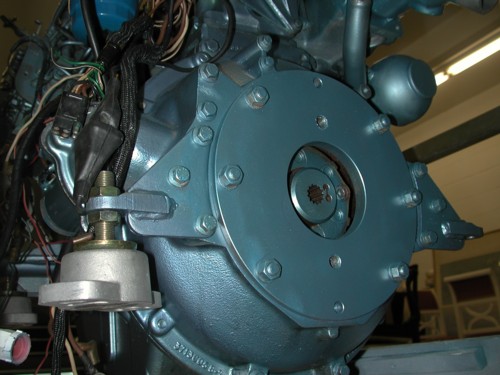
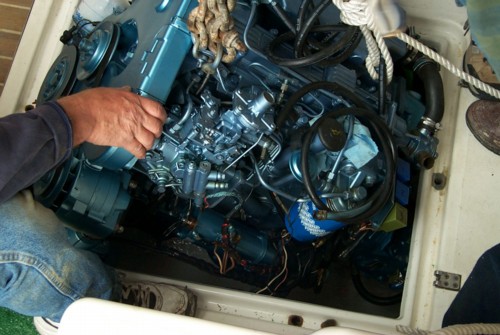
Here is a view of the back of the engine without the hydraulic pumps while it was still in the Prout Escale. As you can see, the mounting plate for the pumps had started to rust, particularly in the area that was most affected by drain water from above.
Not so obvious was the damage someone did to all the engine hoses by spray-painting the with the Perkins colors w/o masking them. Naturally, rubbers meant for seawater don't like being covered with very light hydrocarbons - it makes them weak and brittle. Yet, nearly every part of the engine was covered with an additional layer of paint. I can only suspect that Prout Catamarans did this for one reason or the other, as it does not match the Perkins policy of painting the engine, and then attaching the rubber hoses.
Thus, it was high time to remove the engine and replace every accessible hose before it failed. Naturally, some degradation of hoses is expected over the life of an engine... however, the condition of some of the lines on the engine were not just explained by age.
The engine was removed from the boat once we had undone all the connections that tie it to the boat: fuel lines, heater lines, raw water intake, exhaust, electrical connections, wiring, and the controls. We lifted the engine out of the compartment and drove it home to the garage (which has already served as a workshop for the saildrive and the dinghy repairs). We purchased a bead-blaster to gently remove all rust from pieces we intend to re-use after priming and re-painting them.
While the engine is outside the compartment, we will refinish the drain hole in the back of the compartment, replace the diesel return line, and install new and improved engine mounts to replace the ones wrecked by the flooding. Furthermore, all hull penetrations such as the mounting blocks for the engine will be waterproofed insofar possible.
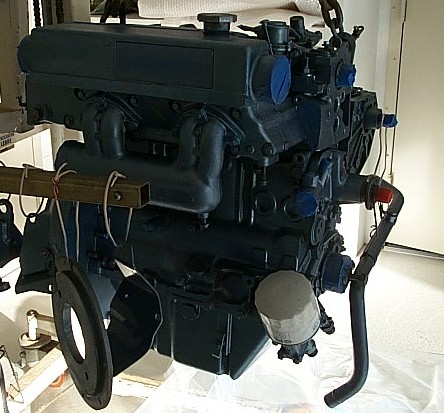
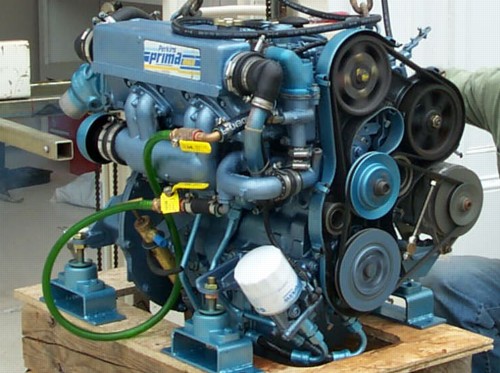
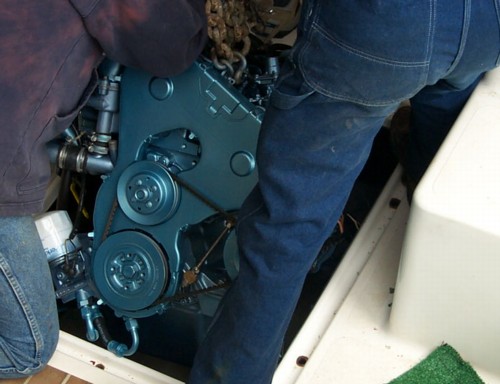
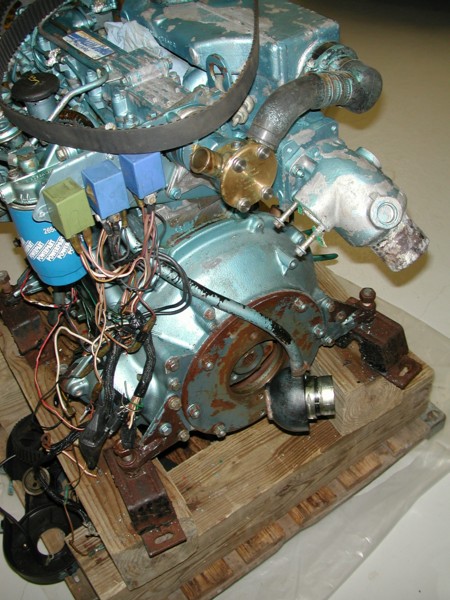 Here is our engine in the process of being stripped down. Every external hose was replaced as many had grown hard and brittle with age. The timing belt was also being replaced along with the water pump, and a number of bearings. Note the light blue sheen on the hose running from the raw water impeller to the heat exchanger (top right).
The cover for the impeller now features oversized, knurled bolts that allow impeller changes with virtually no tools. Speedseal makes it possible. You cen see more about our water circuit in the next section.
To the right of the impeller housing is the exhaust elbow for the engine. We have elected to replace it now before it fails.
The result of this work should keep the engine defect-free for anumber of years to come. The only thing that worries me is the wiring harnesswhich has been submerged at least once. However, this is probably the easiest thing to exchange.
Down below a number of parts await dismantling, cleaning, priming, re-painting, and re-use.
Year 2002 Update:
Our engine repair project is almost complete. Luckily, we were able to find a local Perkins dealer who was able to furnish us with all the parts we needed to replace on ours. Thus, all rubber hoses were renewed.
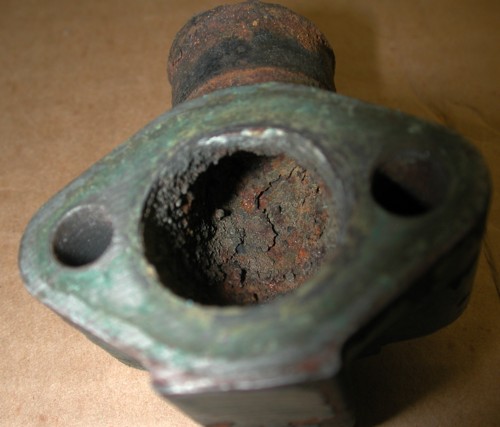
The wisdom of our replacement program became apparent when we took a closer look at the exhaust elbow. Despite just 1,200 hours of use, it is showing a great deal of cratering where the hot gases mixed with corrosive seawater and chipped off pieces of Aluminum. Slowly but surely, the elbow had been disintegrating. Below is a picture of the inside of that exhaust elbow (now detached from the engine).
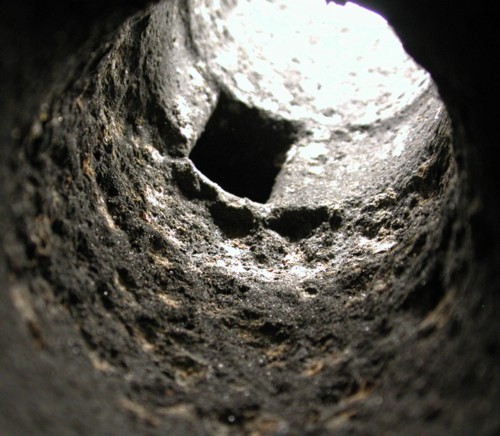
Interestingly enough, Perkins used a ferrous "injector" to spray the saltwater into the exhaust elbow. This unit was severely rusted by the time we removed it. However, it would probably have lasted longer than the Aluminum elbow it was attached to. Both items were replaced.
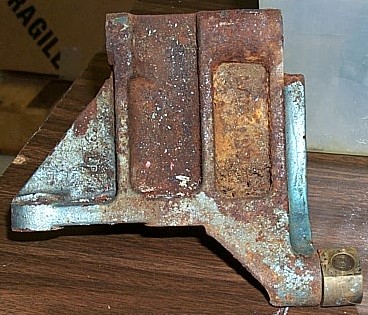
Our alternator bracket shows the typical layer of surface rust. Using a beadblaster, we were able to get the rust off all parts we chose to re-use. Much had to be replaced though, particularly the worn engine mounts.
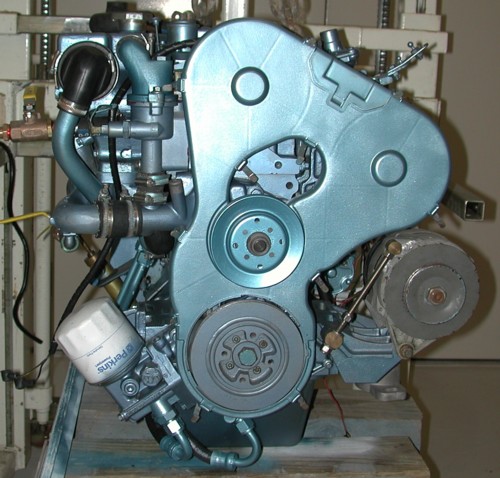
Once the engine and all the parts were clean, we could go about priming and re-painting the engine in it's entirety. Naturally, no rubber parts were exposed to the enamel paint and all openings were taped off.
The engine in it's painting configuration
Front of engine:
Rear of engine:
So once everything had been put back together, it was time to test the engine. Short-circuiting the raw water circuit allowed us to start and run the engine for short periods of time. As usual, our diesel springs to life immeadiately, though the stop solenoid circuit is currently malfunctioning. The engine ran great, now it was time to return the engine to it's normal base of operation, i.e. the boat.
Before shipping the engine back down to the shipyard, we re-attached the hydraulic pumps to the back of the diesel. This was the only way to ensure that all bolts, etc. were attached properly as the working conditions once the engine is in place are incredibly tight. However, having the pumps on the back of the engine would make installation more difficult - we realized quite quickly why boat builders elect to install an engine before dropping the deck in place.
Transplant day arrives: for some jobs, you need a crane!
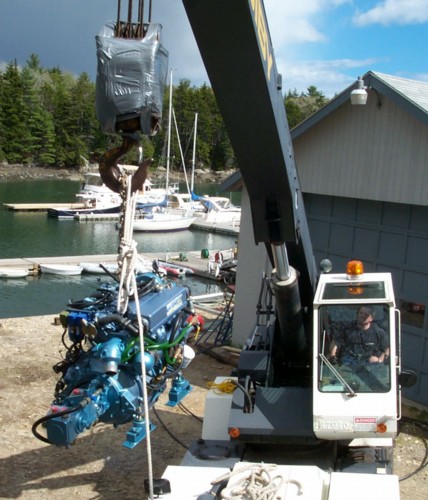
Having opened the roof, the engine was brought into the cockpit
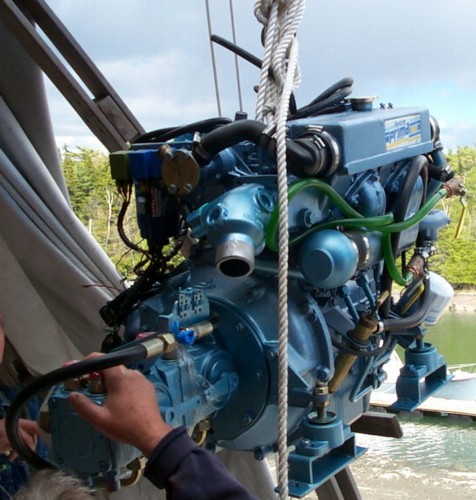
Getting it into the engine bay was going to be a tight fit!
...and it only...
...got worse.
Having installed the engine, we went about to test it again. It still ran! Once the hydraulic system was in place, that ran properly as well! The only thing left was actual sea trials. However, they would have to wait until we were finished with other critical systems on board, such as our recalcitrant mast.
However, one noticable new feature of the engine was the massive vibration it was causing to the boat. Evidently, the new Vetus mounts were much too stiff. This would have to be addressed before either boat or the engine would be shaken to death.
Year 2003 Updates:
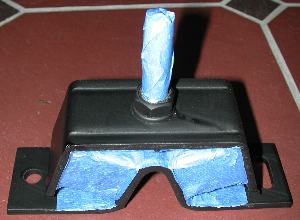
We've had a number of issues with the Diesel this year. The first problem we addressed was the vibration problem due to the stiff engine mounts. We located a replacement set of engine mounts from Yanmar that matched the OEM units that had degraded due to rust and cracked rubber.
We purchased two 75kg-rated units and two 100kg-rated engine mounts. The 75kg units are for the front of the engine, while the 100kg units are for the heavier rear. I painted the mounts to inhibit future rust. However, unlike Prout, I elected to cover the rubber prior to painting the primed engine mount. Thus, I hope that the engine mounts will last longer. Considering that Yanmar charged over $400 for these parts, they'll hopefully last a lifetime!

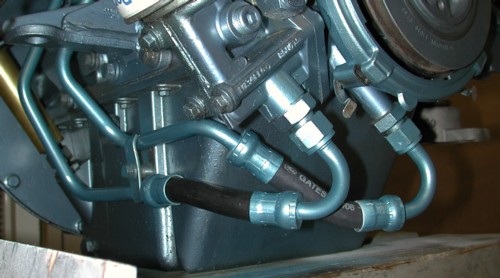
Our next issue was the leaking Diesel return line. As you probably know, Diesels always return a portion of the fuel back to the tank. The flexible line below connects the rigid portion of the system to the pump and the return line to the Diesel tank. It's the braided line in the picture below. Like most rubber hoses on our Perkins, it had been drenched with paint by Prout and this line had degraded like all the other rubber connections treated this way.
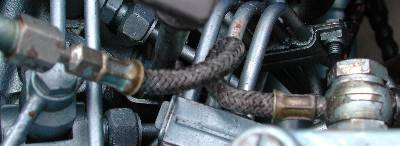
Now, I'm not averse to supporting Perkins, but $160 for a braided hose with crimped fittings? Adding insult to injury, Perkins wants another $30 minimum Shipping and Handling. We'll try to replace the hose and the crimp connections before giving into this ransom demand.
Elsewhere, we've had other issues with the engine as the coolant issue continued to annoy us this year. Since we thought that the coolant was exiting via the overflow line, I fitted a overflow bottle. Fitting such a bottle is a good idea anyway, since it keeps the coolant circuit free of air bubbles.
Well, even after running the engine all-out for over half an hour, the coolant bottle did not fill up as it was supposed to. Once the engine had cooled down, we discovered that the coolant levels inside had dropped. Hence, we knew that the leak was not out the overflow-line.
We decided to re-fill the coolant reservoir before proceeding to figure out where the leak is. When we turned on the fresh-water pump to mix some more anti-freeze, water started to spurt out of the coolant reservoir. Well, we now knew that the leak was linked to our fresh-water system.
Evidently, the heat exchanger inside our calorifier had cracked and was leaking. Instead of just exchanging heat, the calorifer now allowed antifreeze to mix into the hot water supply for the boat, not a good idea! We'll exchange the calorifier for a model from Allcraft. Since the heat calofier isn't really part of the Diesel, you can follow our replacement over in the OEM installation area.
Best Time Estimate for Engine Repairs
| Remove engine, hydraulic pumps | 10 hours |
|---|---|
| Compile List of Replacement Parts, Order | 8 hours |
| Service Engine, replace worn, rusted parts | 40 hours |
| Reinstall Engine | 4 hours |
| Total | 62 hours |
|---|